To start, I’d like to say a huge thanks to Eightbitswide, xxValiumxx, and Paul Rickards for their extremely helpful contributions to this cause!
The esp8266 WiFi Modem design has been really popular with C64 enthusiasts. I’ve been able to get my hands on one, and hack around with some of the available firmware to get 9600 baud working flawlessly. Maybe I should call this unit the “StrikeWiFi”? Anyway, Here’s how to build it:
Parts needed:
- NodeMCU Esp8266 IoT board (though any board with GPIO breakouts including 4 and 5 should work). Here’s a link to one.
- C64 Userport Plug
Skills/Tools Needed: Wire and soldering iron. A project board wouldn’t hurt, but not necessary.
Download and install the latest drivers for the NodeMCU Esp8266:
http://www.silabs.com/products/development-tools/software/usb-to-uart-bridge-vcp-drivers
Download the firmware and Windows flasher tool:
http://www.mediafire.com/file/tm71a1oa1a3macc/alwyz_modded_firmware.rar
To flash with windows, open the flasher tool, use the device manager to find your com port, add that to the com port box, and then add the juno12.bin file from the rar archive to the bin selector. Hold the flash button on the esp8266mod while simultaneously hitting the download button in the program. I keep holding the flash button down during the whole write process, though I don’t know if that’s necessary.
If you’re not using Windows, or have some other Arduino style flashing tool, you can use the .ino file I’ve included in the modded firmware .rar file.
Now that the esp8266 has been flashed, let’s wire this up:
Note: You can use the C64’s 5volt power or external power from the esp8266 usb plug. Either works, though there are theories that the esp8266’s current draw might tax the C64’s 100ma 5v supply. I haven’t noticed any problems with this, but do what you feel is best.
UPDATE 12/22/2020: It has been brought to my attention – again – fears from people who are too smart for their own good, talking trash about this blog post, stating in other blogs how dangerous it supposedly is to power an esp8266 from the 5v supply on a Commodore 64 because of the “advertised” current draw limits of the Commodore 64 user port 5 volt power rail. Let me reiterate 2 things: 1. I said it before and I’ll say it again – If you don’t feel comfortable doing this, then don’t. 2. There has been ZERO evidence that this will hurt a Commodore 64 with an adequate power supply (i.e. not an original brick). There’s advertised power consumption, and there’s real world experience. Firstly, yes we’re hovering right around the advertised limits using this method. But I happen to use both real world experience and advertised information. MY real world experience, using my c64 to power my esp8266 for the past FOUR YEARS, tells me there is no cause for concern in damaging my vintage computer from 1982. I think it’s OK to live a little, people and not worry about every little thing. Seriously. Lighten up. You’re gonna protect your stuff so much with 17 level shifters that you forget to use it and enjoy using it. We’re lucky a wifi device was tailor made for us, using 5 volts and TTL. I consider that a win. If you wanna protect your stuff so much, keep it unplugged, put it in glass, and hang it on a wall… OK end of rant. Enjoy your day….. – Alwyz
Make the following connections using the following pinouts as a reference.
ESP8266Mod Pinout
C64 User Port Pinout
Esp8266 GND -> C64 User Port Pin N (Gnd)
Esp8266 TxD (GPIO1/TXD0) -> C64 User Port B and C (RxD. Yes, Short B and C together)
Esp8266 RxD (GPIO3/RXD0) -> C64 User Port M (TxD)
Esp8266 GPIO4 -> C64 User Port K (CTS)
Esp8266 GPIO5 -> C64 User Port D (RTS)
Esp8266 GPIO2 (d4) -> User Port H (DCD)
Then:
Add a wire from M to 5 on user port plug
Add a wire from B,C to 7 on user port plug
Add a wire from L to 6 on the user port plug
Optional power from C64: Connect C64 pin 2 (+5v) to Esp8266 Vin
First Boot! Follow these steps in order:
- Load CCGMS 2017, select User Port, and select 300 baud
- Go back to terminal mode
- Power on the device if using external power and hit enter
- A menu should show up from the modem letting you know it’s alive!
- Hit F8 to go to Ascii mode (Anscii mode) and enter your ssid and password with the following terminal commands: at$ssid=ssid and at$pass=password
- F8 to go back to the Graphics terminal and type atc1 to connect. This may take a few attempts to connect.
- Use the commands at&p0 and at&k1 . Without doing these 9600 baud will lock up your c64
- Change the baud rate by using the command at$sb=9600
- Go back to the Terminal F7 Menu and select Up9600 Baud / 9600 Baud
- Go back to the terminal, and you should be able to see at and ok reponses.
- Use at&w to write these settings to the esp8266.
- All done. Now your settings should be set every time you boot CCGMS 2017!
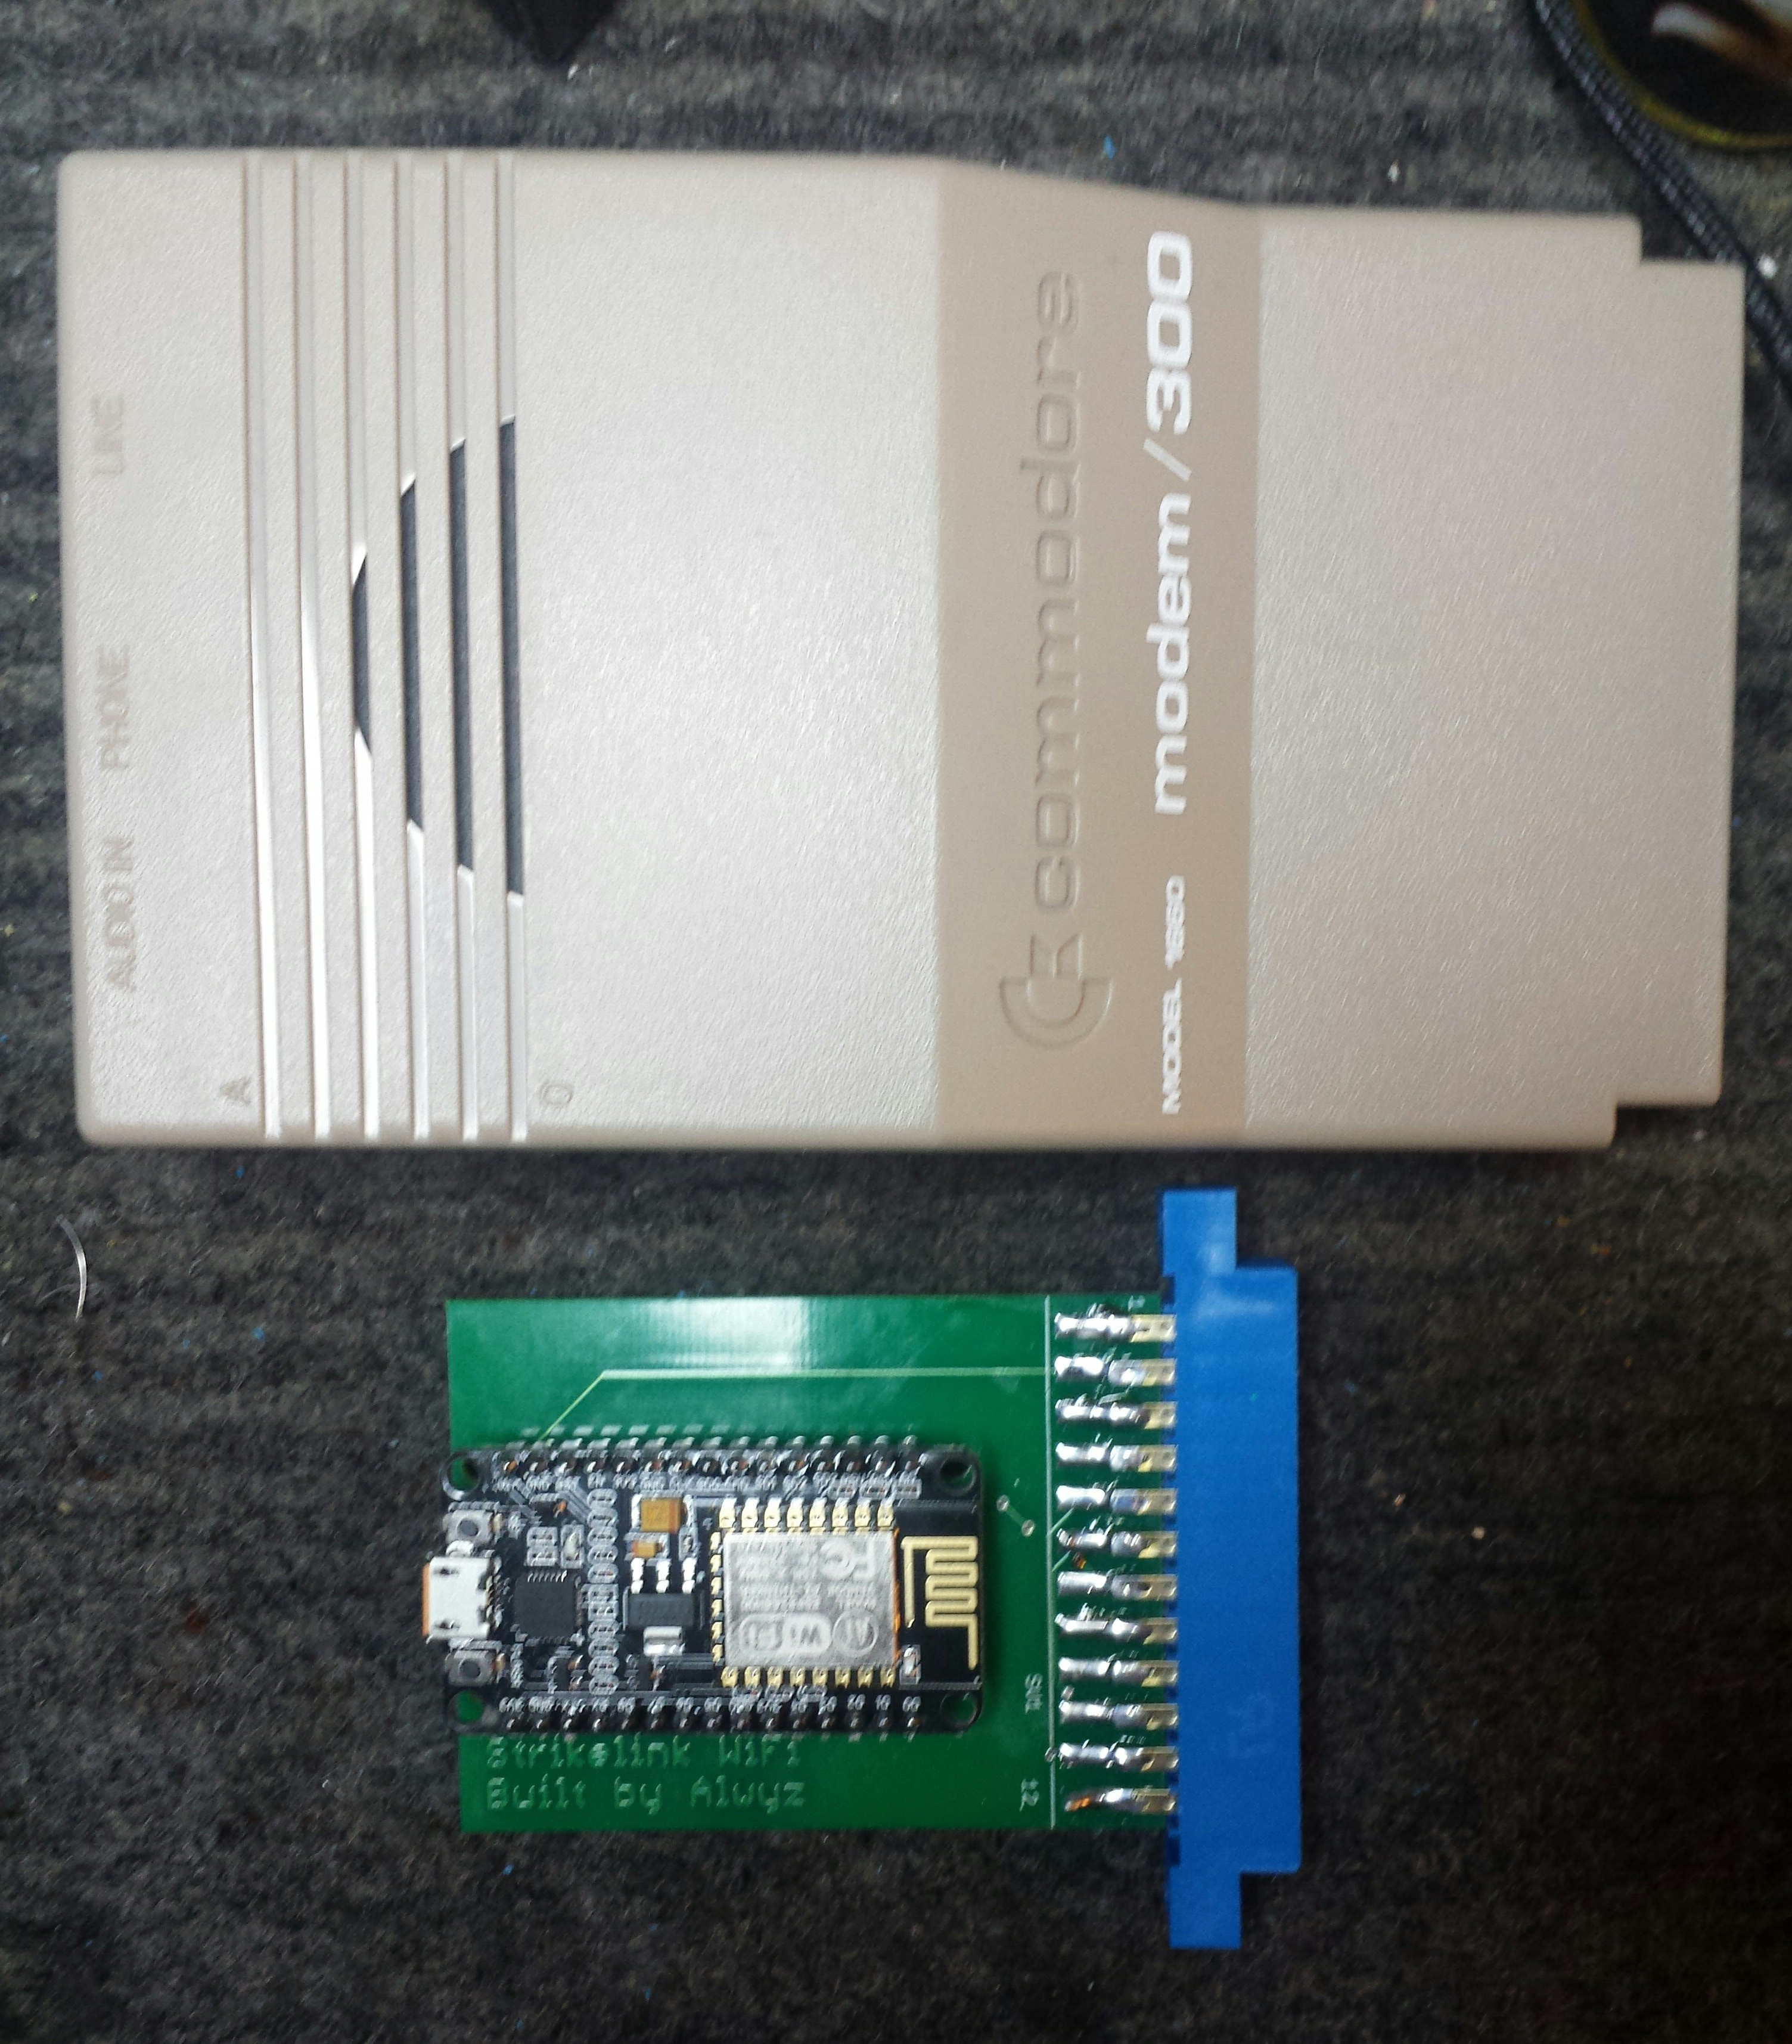
If you would like to manufacture your own Strikelink WiFi boards, use the gerber files here to order for Elecrow or your favorite supplier. If you sell these, I just ask that you keep the prices reasonable. It would be great to see a number of worldwide retro stores offering these.
Instructions:
https://1200baud.files.wordpress.com/2017/03/strikelink-wifi-instructions.pdf